Flower Box Over Railing – Do you love gardening but hate the hassle of climbing up and down to water your plants? Then you’ll love this flower box over railing tutorial!
By following these simple steps, you can easily hang a flower box over railing to make gardening more convenient and easier. So get ready to get your gardening on!
What is Flower Box Over Railing
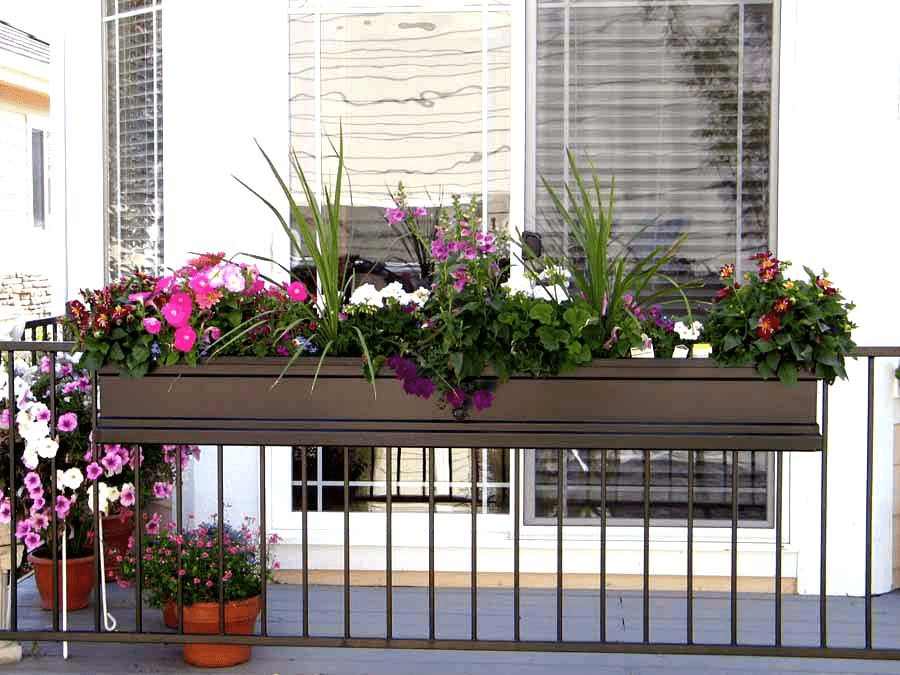
If you’re looking for a garden furnishings that offers more privacy and visual appeal, then flower box over railing is the perfect solution for you. This type of rail attaches to the side of a fence or wall using brackets and allows plants to dangle below.
It also offers more space for outdoor activities as the rail is elevated from the ground. To install flower box over railing, first measure the distance from the bottom of your railing to the ground.
Next, cut a piece of wood that’s slightly larger than this measurement and attach it using screws, nails, or clamps. Finally, position the flower box on top of this board and screw it in place using screws or nails through both boards into the wall or fence posts.
How to Hang a Flower Box Over Railing
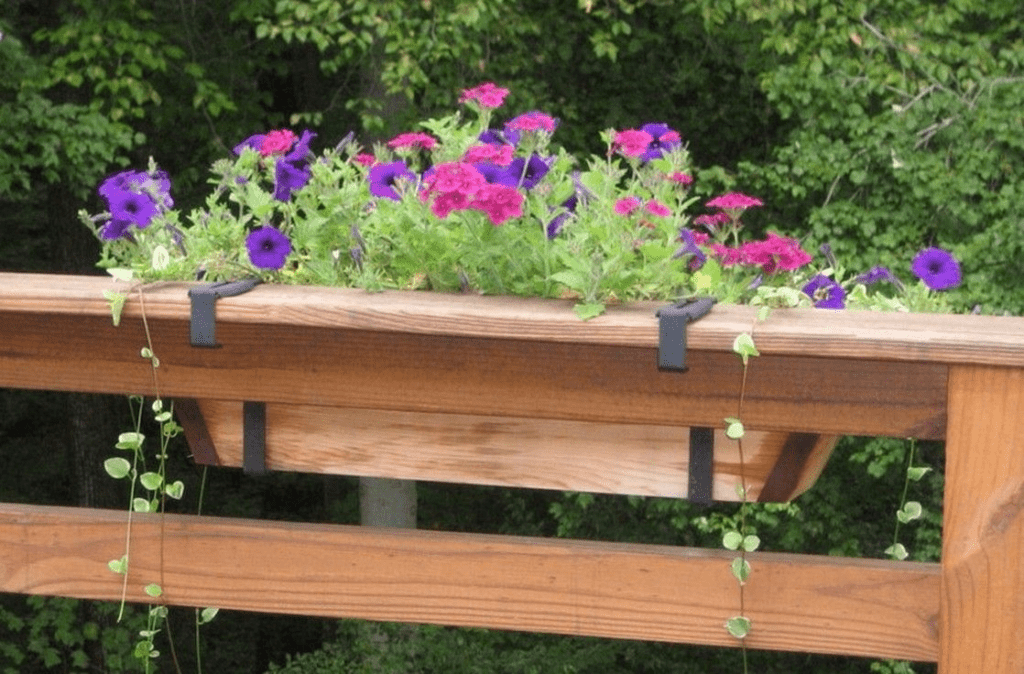
When it comes to adding a little oomph to your garden, nothing beats a beautiful flower box. But how do you go about hanging one over railing? Well, follow these simple steps and you’ll be well on your way! First, measure the height of the box and railing.
Next, cut a piece of wood that’s slightly larger than the size of the box and tape it to one side of the railings. Drive a nail into the wood at an angle so that it protrudes approximately 2 inches from both sides of the railings.
Now, hang the flower box onto this protrusion, making sure that it’s level and centered on the railings. Voila! You’ve just created a beautiful garden addition that will add charm and beauty to your home.
How to install flower box over railing
Adding a beautiful flower box to your railing can add a touch of elegance to your home. However, it can be a little tricky to install. That’s why we’ve put together this guide on the best steps to follow.
First, measure the railings and mark the location of the box on the post using a level. Next, use a saw or an electric drill to cut out the hole for the box.
Make sure to use bricks or cement blocks to fill any gaps around the opening until it is flush with the surrounding wall surface. Once the box is installed, fill it with beautiful flowers and enjoy!
What you need to do
It’s time to add a little bit of bling to your garden with a flower box over railing! These simple steps will have you up and running in no time. Firstly, you’ll need a flower box, wire mesh, brackets, and drill.
The first thing you’ll want to do is measure the height of the railing and subtract 1 inch from that number. This will give you the length of wire mesh needed in order to extend over the railing. Cut the wire mesh to this length using a saw or a hatchet.
Next, attach the bracket to one end of the wire mesh with screws (a Phillips head screwdriver works best). Repeat these steps for each side of your flower box. There you have it – a beautiful flower box that’s perfect for adding a touch of personality to your garden!
Conclusion
Thank you for reading our blog! In this post, we will be discussing how to install a flower box over railing. By following the steps outlined in this post, you will be able to create a beautiful addition to your balcony or patio. Have a great day!