A dried roses shadow box is simply a beautiful way to display your dried roses Collection. It’s easy to make, and it only takes a few simple steps. Whether you want to make one as a gift for someone special, or just showcase your collection in your own home, this blog has the instructions you need. So be sure to check it out!
What is a dried roses shadow box?
What is a dried roses shadow box, you ask? It’s a beautiful and simple gift that can be made in minutes. A dried roses shadow box is the perfect way to show your loved ones how much you care. It’s easy to make, requires just a few supplies, and is the perfect way to capture special moments.
How to make a dried roses shadow box?
There’s no need to go to a salon to get a beautiful, realistic shadow box. All you need is a little bit of creativity and some supplies from your local store. In this tutorial, we’ll show you how to make a dried roses shadow box in just five easy steps. Below, are the 5 steps to make a dried roses shadow box.
Preparing the materials
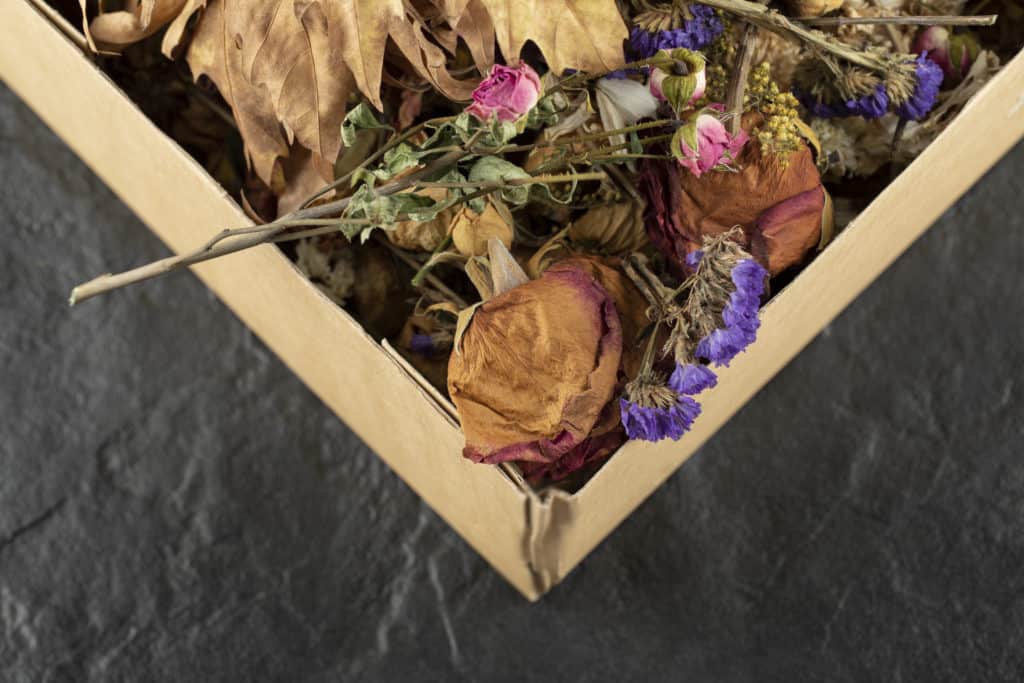
When it comes to creating a beautiful dried roses shadow box, you will need the following materials: – Dried Roses – Cardstock – Paper Trimmer – Scissors – Glue Gun or Hot glue Gun.
Here are the supplies you’ll need:
-A frame that you love
-Photos of your loved ones (or photos of any special moments)
-Floral pins
-Thread or ribbon to tie together flowers and pins
Since this is such a simple project, there aren’t too many specific supplies that are necessary. However, if you’d like to add extra pizzazz to your dried roses shadow box, some additional items may be helpful: -Easter eggs (for added fun!) -Miniature roses ( for a little extra oomph!) -Some simple beadwork (for a more luxurious look)
Assembling the shadow box
Assembling the shadow box is a simple but pleasing task that can be completed in no time at all. First, cut the dried roses into small pieces. Once they are chopped up, take a piece of cardboard and cut it to fit inside the shadow box. Paste the roses onto the cardboard and then add a light layer of glue. Let it dry before putting your shadow box in an area with ample natural light for the best results!
Applying the paint
To create a shadow box filled with realistic-looking dried roses, follow these simple steps: 1. Paint the inside of the box with a light grey colour. 2. Add dried roses to the outside of the box in different colours and shapes. 3. Use brownish-black paint to add shadows under each rose, giving it depth and realism. 4. Let the paint dry for at least two days before displaying your shadow box!
Finishing touches
To finish off your lovely shadow box, all you need to do is follow the simple instructions. Once you have finished, attach a bow or other decoration and voila – you’re ready to show it off!
Tips for making a dried roses shadow box
Create a dried roses shadow box that will be cherished for years to come by following these 5 easy steps. Start by gathering supplies like a sturdy frame, cardboard or foam board shape for the front, and dried roses. Trace the shape onto the material and then decorate it to your liking. Be creative and have fun! Once you’re happy with the look of your shadow box, it’s time to mount it to your chosen frame. Make sure to cut out the hole for the roses before mounting them so that they’re easy to insert. Once everything is in place, add the roses and enjoy!
Conclusion
Making a dried roses shadow box is an easy and fun way to show off your love for dried roses. All you need is some dried roses, some shadow box supplies, and some creativity! Follow the 5 easy steps below to get started. Thanks for reading!